Enable publish preview for an html template
Publish preview can optionally be turned on for each html template. This enables content authors to view how page content will look when published with that template.
Enable publish preview
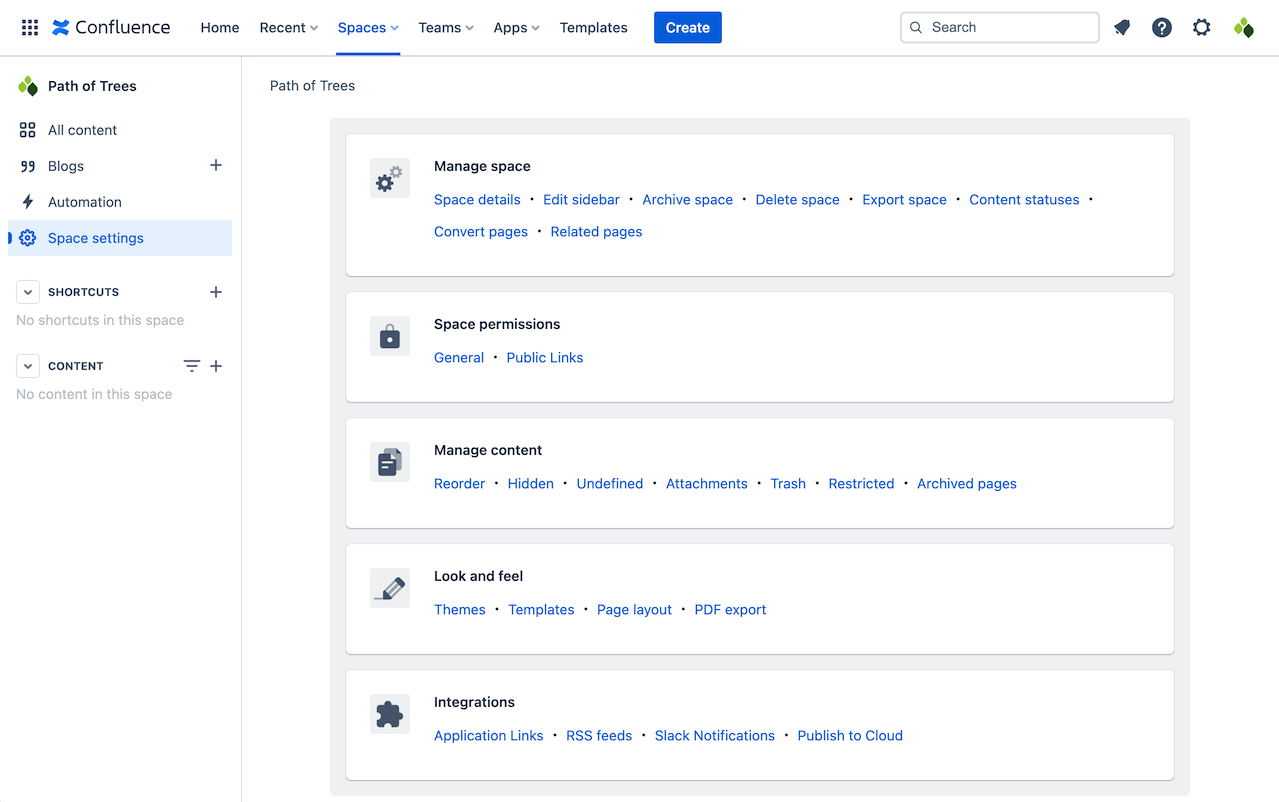
First, navigate to the Publish to Cloud page under Space Settings for the space in question.
Open your chosen space. The Spaces menu in the top navigation is usually the quickest way to do this. From within the space, select Space Settings in the left hand navigation, then Publish to Cloud under the Integrations sub-heading (you may need to scroll to locate this).
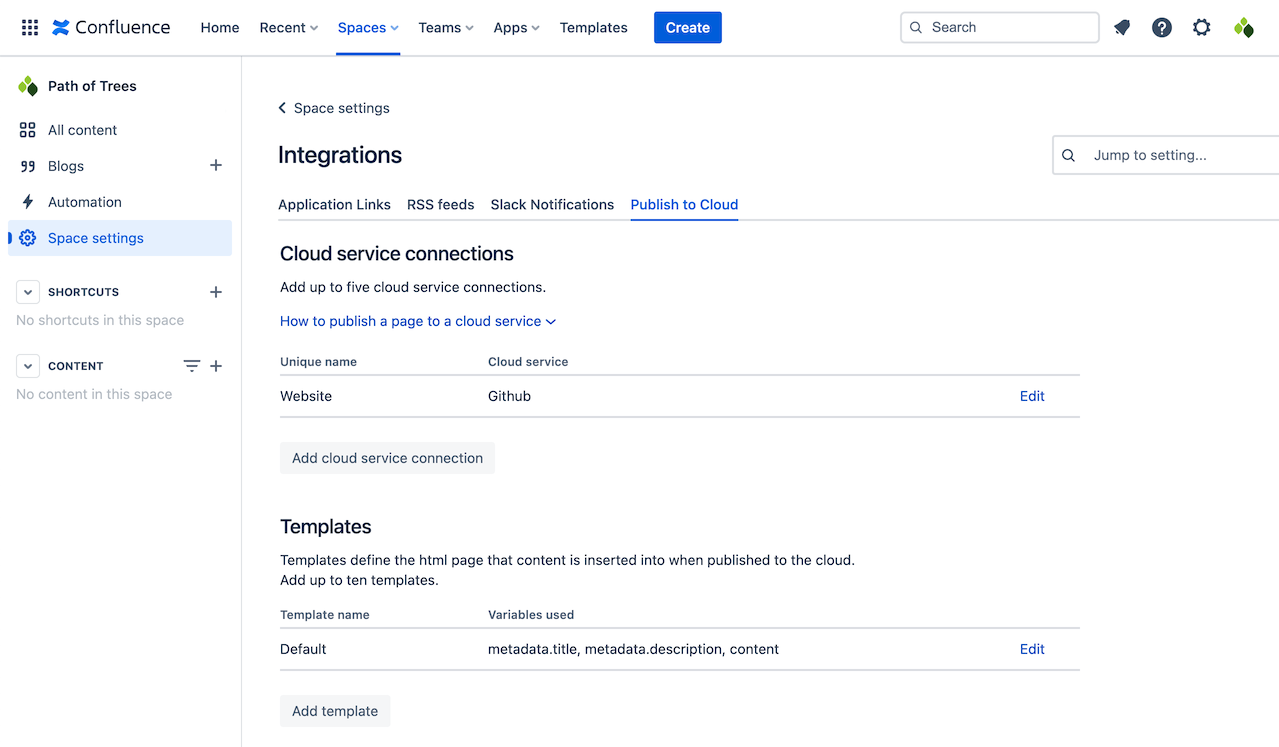
Next, select a template. From the templates table, click Edit next to the template that you want to modify.
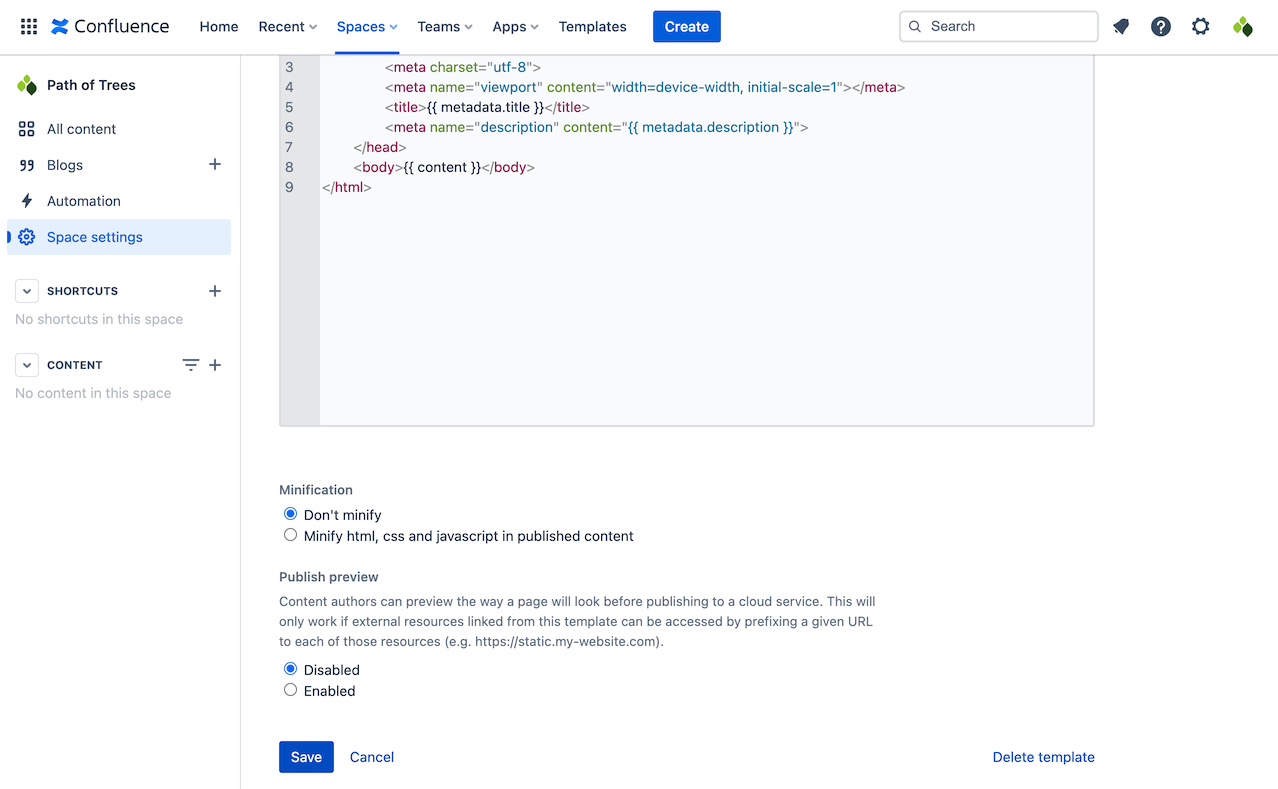
Scroll down to the publish preview setting below the code editor.
Select Enable and add the full domain where this template’s static resources can be found.
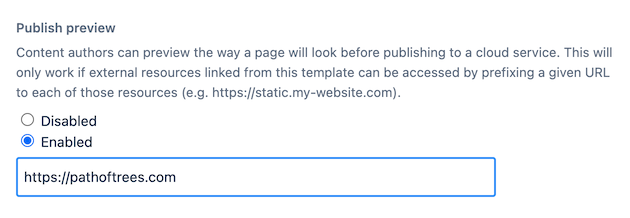
For publish preview to work, the app needs to know which domain to pull static resources from, so any CSS, Javascript or images used in the template can be loaded correctly.
For example, if a template links to a stylesheet at /static/style.css and the domain given is https://pathoftrees.com, publish preview will try to load this stylesheet at https://pathoftrees.com/static/style.css.
After adding the domain, press Save.