Add metadata and content sections to a Confluence page
Add metadata and content sections using macros when authoring a Confluence page. These will be inserted into the selected html template when the page is published to the cloud.
Add metadata
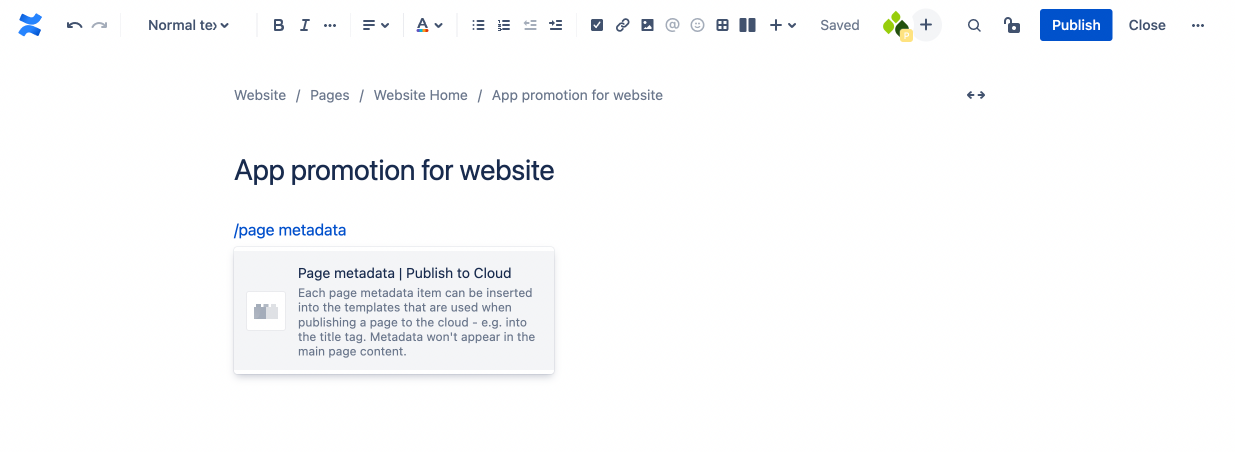
Add metadata using the Page metadata macro. Type / (backslash) while editing a page, type Page metadata and then select the macro from the list. The macro will be added to the page.
Select the macro and press the Edit icon (pencil).

Add a name and value in the configuration panel on the right hand side. The name can be a mix of letters, numbers and dashes only, up to a maximum of 40 characters. Information entered into he configuration panel is automatically saved.
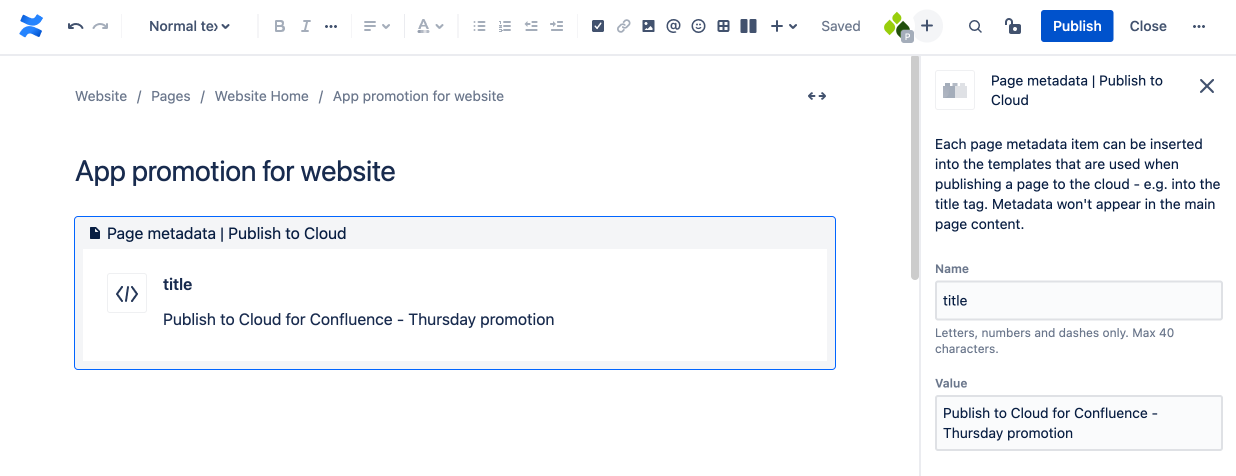
Metadata defined with the Page metadata macro only appears where it is inserted in a template (not in the main content or in content sections). This enables html metadata, e.g. for a title tag, to be authored with page content.
Add a content section
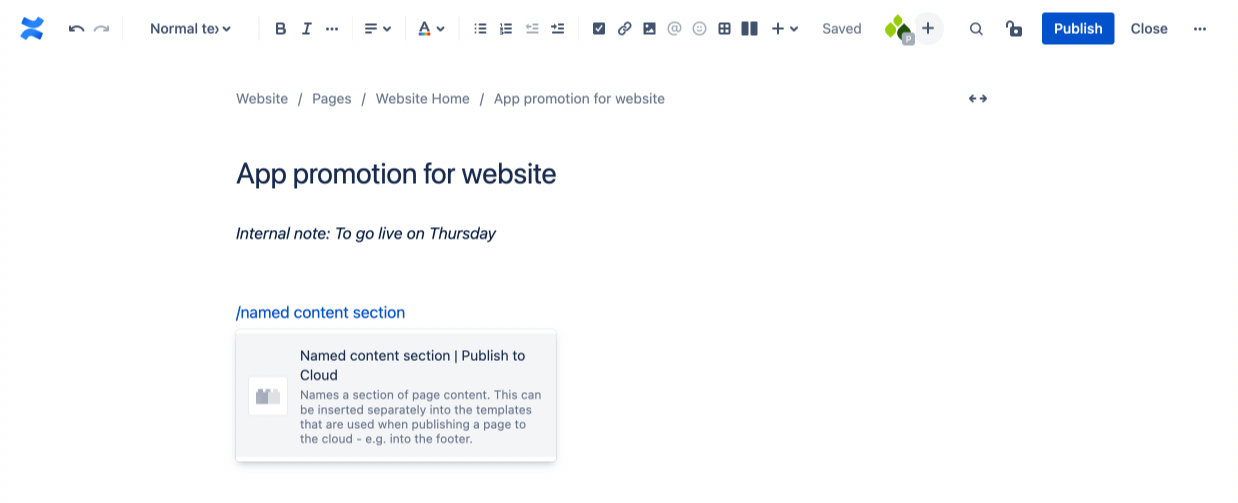
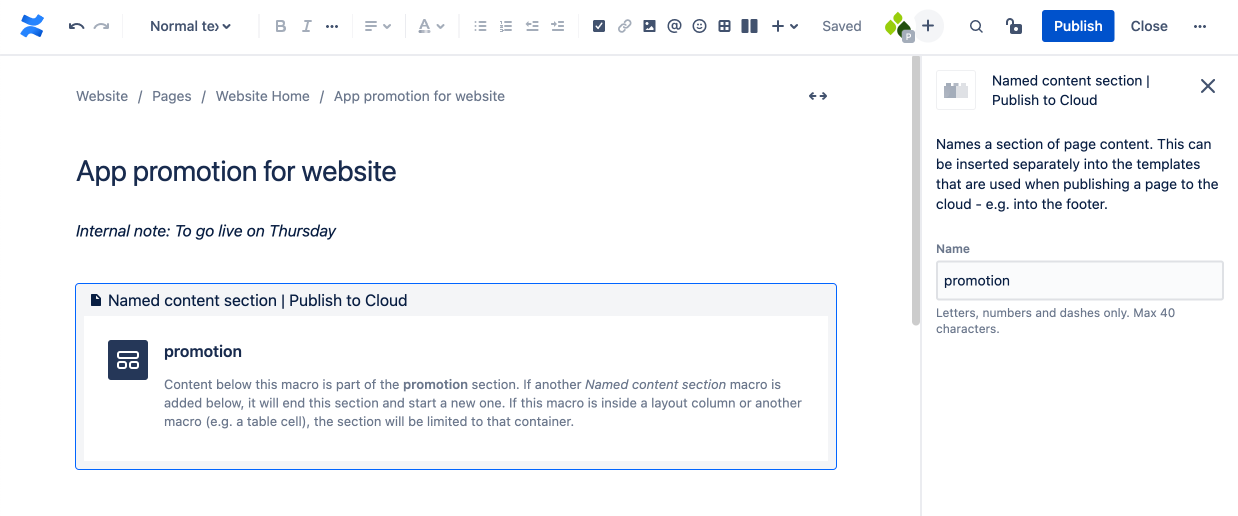
Add metadata using the Named content section macro. Type / (backslash) while editing a page, type Named content section and then select the macro from the list. The macro will be added to the page.
Select the macro and press the Edit icon (pencil).

Add a name in the configuration panel on the right hand side. The name can be a mix of letters, numbers and dashes only, up to a maximum of 40 characters. Information entered into he configuration panel is automatically saved.
How the boundaries of a content section are calculated
Only the content beneath a Named content section macro will be included in that content section.
See: Determine the boundaries of a 'Named content section'
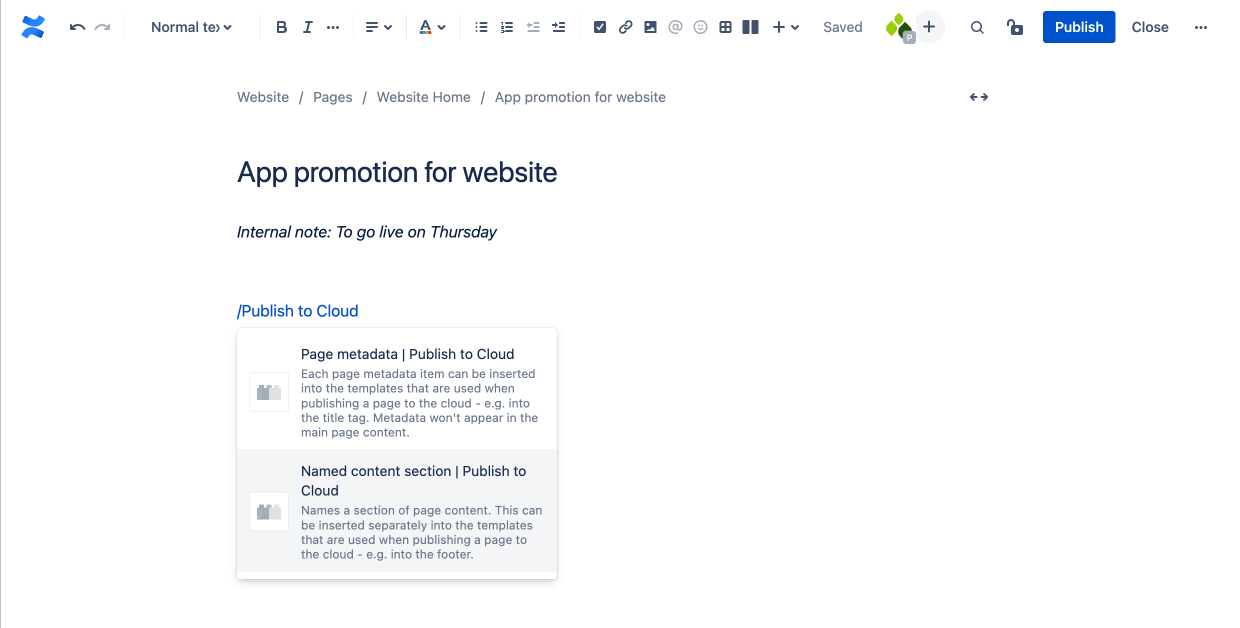
Quickly find any Publish to Cloud macro
To quickly find any Publish to Cloud macro type / (backslash) while editing a page, type Publish to Cloud and then select a macro from the list.
